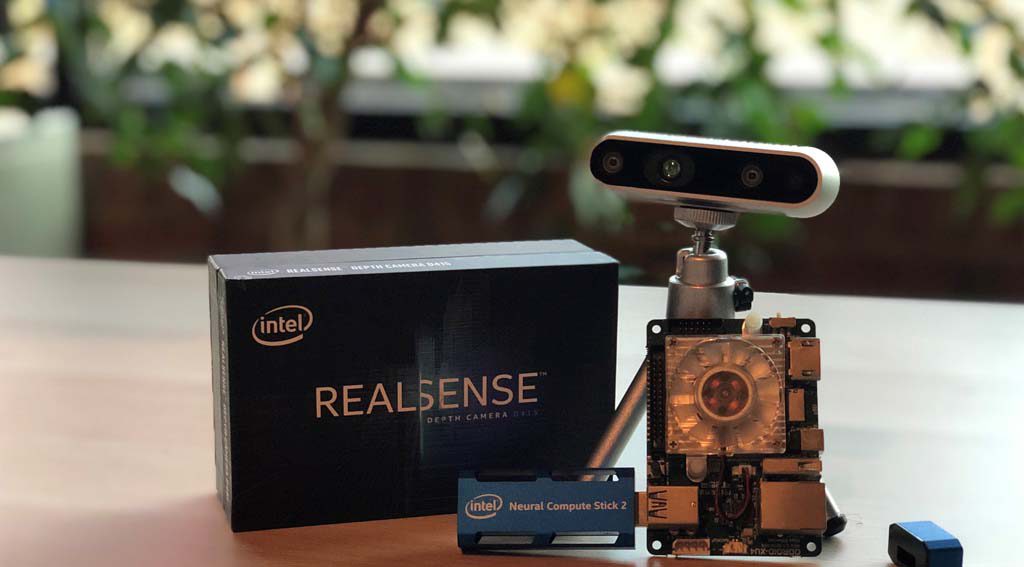
We’re developing a custom computer vision client application to measure the square footage of product as it moves along the production line. The Intel camera produces a 3D point cloud of objects in its field of view which can be used to calculate distance, shape, and size.
Intel provides an SDK for their camera but gives sparse details on setting up the SDK for Visual Studio C# development in their
GitHub project
Below you will find step-by-step instructions on setting up the SDK for C# development in Visual Studio for Windows. Unless otherwise noted, the default options were used during the install.
You must have the C++ desktop development workload installed for Visual Studio. To install, use the Visual Studio Installer app to modify your existing VS setup. The VS installer app should have been installed during your initial VS installation and can be found on the Start Menu. Run the install app and select the Modify options if C++ is not installed.
Verify you have the latest software by running Windows Updates.
Download the SDK from Intel
here. If you have downloaded the zip file, expand the files into a folder.
Git for Windows must be installed. You can find the latest
here.
The SDK must be recompiled with the C# bindings option turned on. Download CMake
here. When installed, a new CMake GUI app will appear in your Start Menu.
In the /librealsense folder you downloaded from GitHub, create a new folder /build.
Start the CMake GUI from the Start Menu. CMake uses a 2 step process. First, it will create configuration files after you’ve set the configuration options, then it will finish the build after you click the Generate button.
Click the Browse Source button and point to the /librealsense folder you downloaded from GitHub.
Click the Browse Build button and point to the /build folder you created.
From the Tools menu, select
Configure, then select the version of Visual Studio and the OS from the
Specify the generator for this project dropdown.
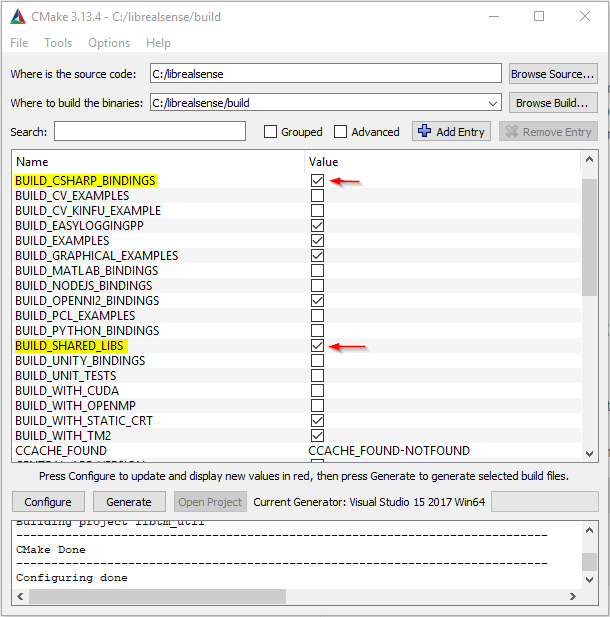
CMake will create the configuration at this point and you should see the options shown below. Select BUILD_CSHARP_BINDINGS and verify BUILD_SHARED_LIBS is selected.
Click the Generate button. CMake should now compile the software with the C# bindings included in your /build folder.
You should now see a /csharp folder in the /wrappers folder. With the camera attached, from Visual Studio you can now open and run one of the C# projects generated.
Potential Issues
If you encounter an error about incorrect file type when building in VS, verify you selected the correct OS type from within CMake when setting
Specify the generator for this project dropdown. Should you have selected Win64?
If CMake builds but you don’t see the /csharp folder, verify BUILD_CSHARP_BINDINGS is checked. It will be unchecked if you need to delete the CMake cache and will need to be reset afterward.
CMake caches your settings. If you need to change a setting, you may need to delete the cache to have access to the settings. Select File > Delete Cache from the CMake menu.
Computer Vision and Machine Learning have never been more accessible to small businesses. If you’re considering a computer vision project for your business, we’d love to hear about it. Maybe we can design something incredible together.
Russ Husky
russ.husky@cccom.com